
While MaryJane and I were visiting the Christmas markets, I was so completely inspired by all of the gingerbread and decided I wanted to make a big gingerbread statement piece when I returned. Every year I have so much fun creating a centerpiece for our dining table, and I started imagining a gingerbread village right down the center. It was fun to talk with MJ about ideas I had brewing while we were traveling around each country. This is one of my favorite Christmas projects I’ve ever done, but it is time consuming. Read below for all of the details and a step-by-step guide on how to make your own.
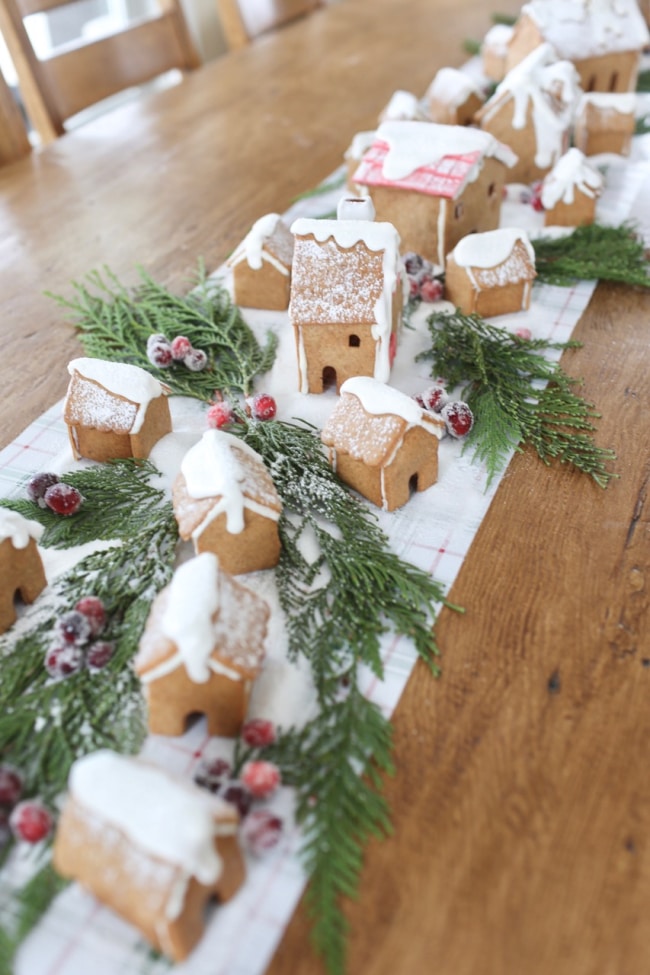
Although creating a bunch of gingerbread houses is really time consuming, it’s so satisfying to see them all come together. Here’s an overview of how I put it all together, starting with a simple piece of wrapping paper down the center of the dining table:

Placing all of the gingerbread houses:

Placing fresh greens throughout:

Pouring granulated sugar “snow berms” at the base of each of the structures and throughout the entire setting:

Dusting with powdered (confectioners) sugar “snow”:
And decorating with sugared cranberries, sporadically placed throughout:


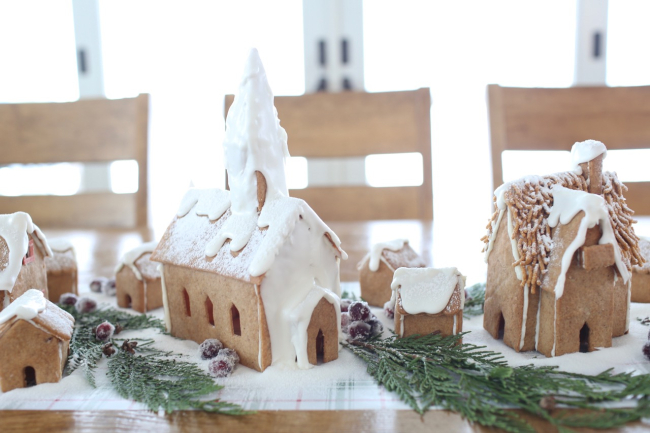
I made 27 gingerbread houses in total. I worked on baking the houses over about one week, just baking them whenever I had time and leaving the pieces on a cooling rack to keep drying and hardening until I was ready to get started with construction. Here are some of the finer details of how I created it all:

I made the gingerbread out of a recipe adapted adapted from Serious Eats:
Construction Gingerbread House Recipe:
- 1/4 cup brown sugar
- 2 teaspoons ground cinnamon
- 1 1/4 teaspoons ground ginger
- 1/4 teaspoons ground cloves
- 1/3 cup plus 1 tablespoon corn syrup
- 3 tablespoons butter at room temperature
- 1 1/2 teaspoons vanilla extract
- 1 1/3 cups all-purpose flour, plus more for dusting
- NOTE: Do not substitute ingredients. Doing so can cause bubbles, create a weak dough, etc.
Directions:
-
Line a sheet pan with parchment paper. Preheat oven to 350°F. Combine brown sugar, cinnamon, ginger, cloves, corn syrup, butter, and vanilla in the bowl of a stand mixer fitted with a paddle attachment. Mix on low until smooth, then sprinkle in flour and continue mixing to form a stiff dough. Turn onto a lightly floured surface and knead until smooth. Proceed immediately, or wrap in plastic and set aside at room temperature until needed, up to 24 hours. (Larger batches should be divided into 14-ounce portions.)
-
Place dough on parchment paper that has been sprinkled with flour. Sprinkle more flour onto the top of the dough and roll out to your desired thickness. (I roll my dough very thinly so that it goes a long way and so that each gingerbread house is as light as possible). Cut according to your gingerbread house template (see note below about templates), using an X-Acto or paring knife. Transfer shapes to the sheet pan.
-
Bake gingerbread until dry to the touch and golden brown. This can vary anywhere from 7-25 minutes, depending on size and thickness of your shapes. Transfer cut-outs to a cooling rack and cool completely before handling.
- Assemble houses with melted white candy melts, using a disposable piping bag.
- Allow to fully dry and set.
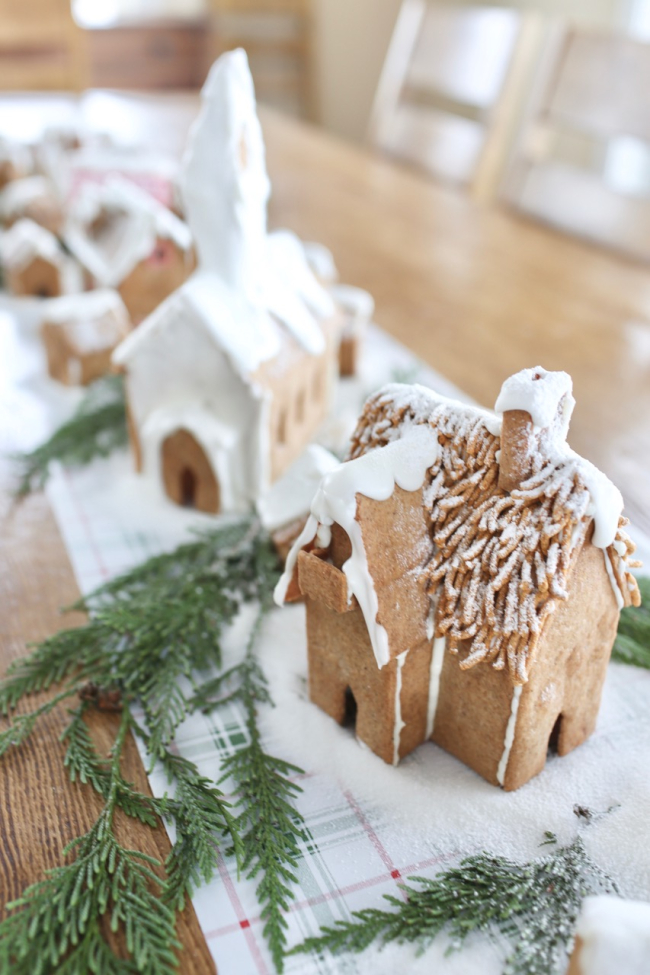
- 21 of the houses were miniature-sized, modeled from a gingerbread house cookie cutter I found at my local grocery store. The other houses were modeled from a set of Martha Stewart paper houses that I cut apart for the patterns.
- The thick finishing “snow” on the rooftops was made from Royal Icing, which is made from egg whites and powdered sugar.
- The “thatched roof” was made out of generic Fiber One cereal, placed on piece by piece, starting at the bottom of the rooftop with a strip of piped on white chocolate followed by the cereal placed on top of the strip, one by one, and working my way up to the center (top of the roof) on each side. It was time consuming but not as bad as I thought it would be.
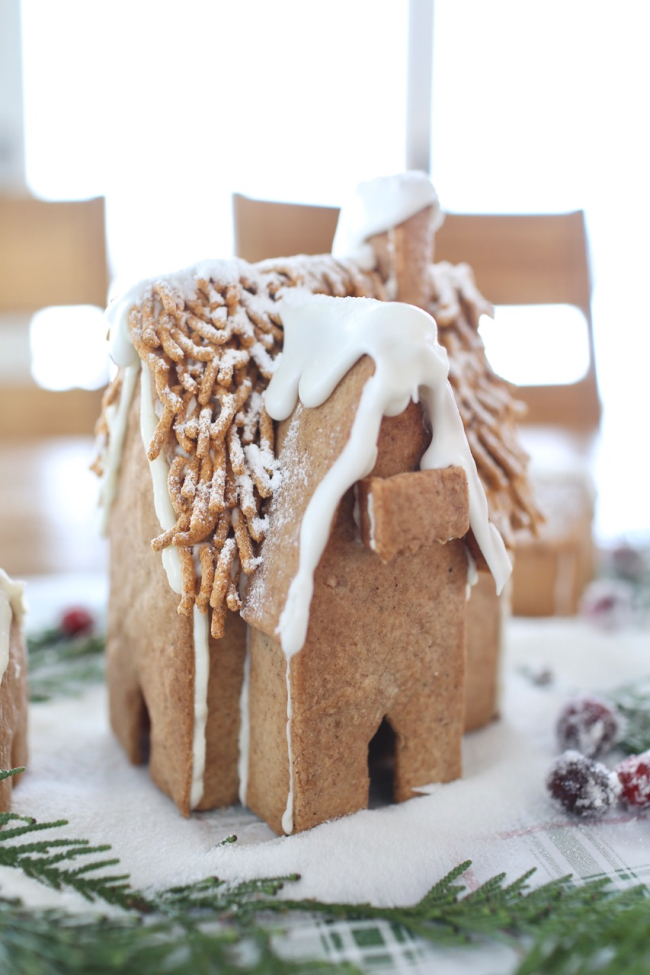
- The “roof tiles” were cinnamon gum placed on in the same manner as the cereal.

- The shutters and window trim on two of the houses were also made from cinnamon gum.
- You can find my recipe for sugared cranberries here.

-
This was a fun project and I’m so glad I did it. I’ve had such a busy month and it was a nice way to really put my heart into Christmas. I hope you’ll give it a try if it sounds fun to you. Merry Christmas!
Supplies:
Find them on my Amazon page here.


IT'S ME, SERENA!
In 2002, I was dreaming of creating a fun and happy little event to sell my vintage and handmade goods. In 2002, I held my first event in my neighbor's barn along with a handful of friends. The sale became wildly popular and began attracting visitors from across the country and recognition in national magazines. Today The Farm Chicks Vintage & Handmade Fair fills the Spokane County Fairgrounds and features hundreds of creatively and carefully curated spaces packed with vintage and handmade goods. Many describe it as a bucket list event, magical, inspirational, and the best event of its kind in the USA. I describe it as the best weekend of the year!
MORE POSTS LIKE THIS
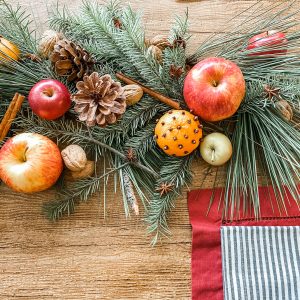
Natural Holiday Tablescape
Tablescapes add such a nice, warming touch to your home during the holidays. This year I decided to go with simple natural elements (greenery, fruit, and nuts) that are really pretty when gathered together. Best of all, it was really simple and inexpensive to create.I...

Festive Kitchen Christmas Tree
Decorating the kitchen with a small Christmas tree adds an extra bit of holiday cheer to your home. To continue my gingerbread theme this year, I made mini gingerbread houses and tiny stars for the ornaments and strung fresh cranberries as a garland. To finish it all...

How to Make a Fuller Garland
I love the tradition of placing a garland around the front door and I've discovered that I can make it much fuller by adding more elements to the garland once it's hung. I'll show you how! The first step is hanging the garland. I don't want to place any nail holes on...
COPYRIGHT 2024
THE FARM CHICKS
P.O. BOX 9866
SPOKANE, WA 99209

![]()
![]()
![]()
COPYRIGHT 2024
THE FARM CHICKS
P.O. BOX 9866
SPOKANE, WA 99209
![]()
![]()
![]()